Quick Start
- CedarJS requires Node.js (=20.19.x) and Yarn (>=1.22.21)
- Are you on Windows? For best results, follow our Windows development setup guide
Create a Cedar project with yarn create cedar-app:
yarn create cedar-app my-cedar-project
CedarJS comes with full TypeScript support from the get-go:
yarn create cedar-app my-cedar-project --typescript
Then change into that directory, yarn install, and start the development server:
cd my-cedar-project
yarn install
yarn cedar dev
Your browser should automatically open to http://localhost:8910 where you'll see the Welcome Page, which links out to many great resources:
Congratulations on running your first Cedar CLI command! From dev to deploy, the CLI is with you the whole way. And there's quite a few commands at your disposal:
yarn cedar --help
For all the details, see the CLI reference.
Ona
The fastest way to start a new Cedar project is to use Ona's (formerly Gitpod) cloud development environment (additional documentation for working with Ona).

Prisma and the database
CedarJS wouldn't be a full-stack framework without a database. It all starts
with the schema. Open the schema.prisma file in api/db and replace the
UserExample model with the following Post model:
model Post {
  id        Int      @id @default(autoincrement())
  title     String
  body      String
  createdAt DateTime @default(now())
}
CedarJS uses Prisma, a next-gen Node.js and TypeScript ORM, to talk to the database. Prisma's schema offers a declarative way of defining your app's data models. And Prisma Migrate uses that schema to make database migrations hassle-free:
yarn cedar prisma migrate dev

# ...

? Enter a name for the new migration: › create posts
You'll be prompted for the name of your migration. create posts will do.
If you feel yarn cedar is too long to type out all the time, you can add
alias cedar='yarn cedar' as an alias to your shell and then just use cedar
cedar prisma migrate dev
cedar dev
# etc
Now let's generate everything we need to perform all the CRUD (Create, Retrieve, Update, Delete) actions on our Post model:
yarn cedar generate scaffold post
Navigate to http://localhost:8910/posts/new, fill in the title and body, and click "Save":
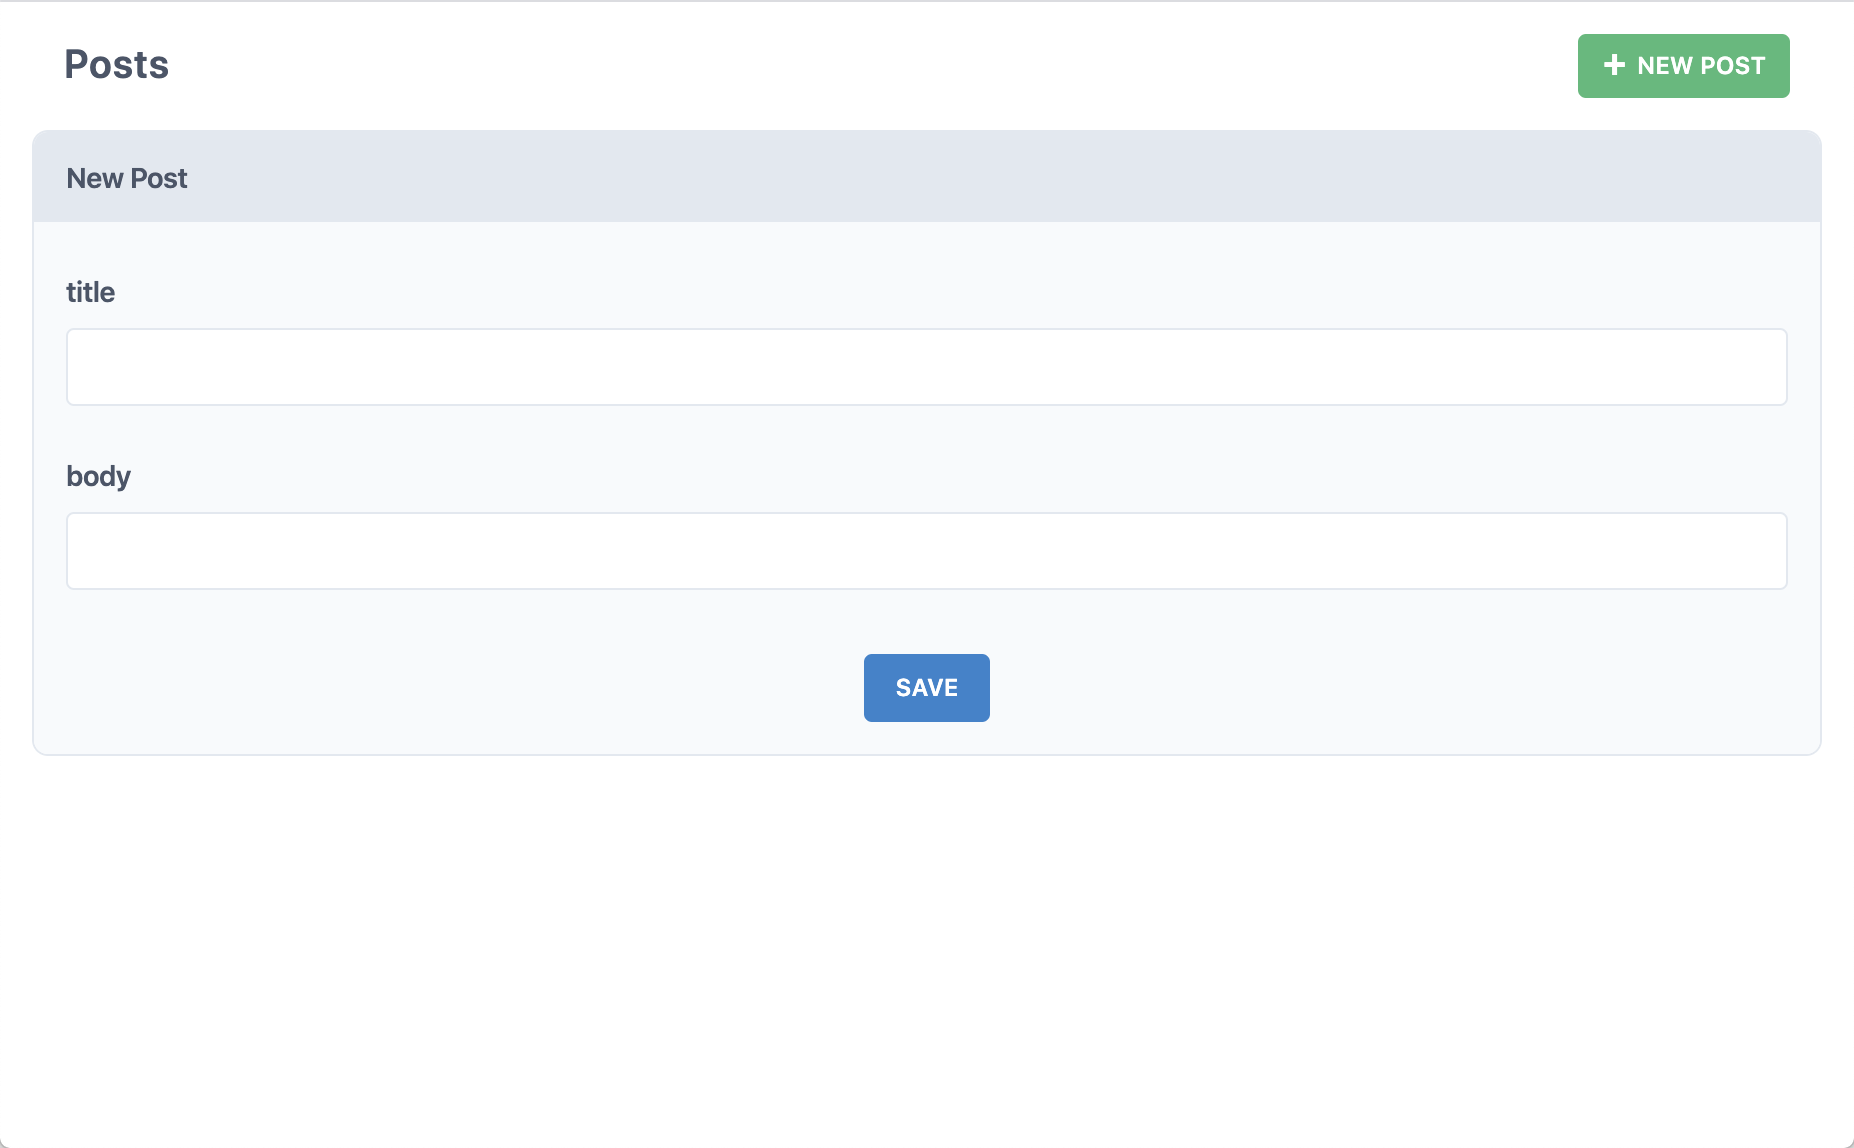
Did we just create a post in the database? Yup! With yarn cedar generate scaffold <model>, Cedar created all the pages, components, and services necessary to perform all CRUD actions on our posts table.
Frontend first with Storybook
Don't know what your data models look like? That's more than ok — Cedar integrates Storybook so that you can work on design without worrying about data. Mockup, build, and verify your React components, even in complete isolation from the backend:
yarn cedar storybook
Seeing "Couldn't find any stories"?
That's because you need a *.stories.{tsx,jsx} file.
The CedarJS CLI makes getting one easy enough — try generating a Cell, CedarJS's data-fetching abstraction:
yarn cedar generate cell examplePosts
The Storybook server should hot reload and now you'll have four stories to work with.
They'll probably look a little bland since there's no styling.
See if the CedarJS CLI's setup ui command has your favorite styling library:
yarn cedar setup ui --help
Testing with Vitest
It'd be hard to scale from side project to startup without a few tests. Cedar fully integrates Vitest with both the front- and back-ends, and makes it easy to keep your whole app covered by generating test files with all your components and services:
yarn cedar test
To make the integration even more seamless, CedarJS augments Vitest with database scenarios and GraphQL mocking.
Ship it
CedarJS is designed for both serverless deploy targets like Netlify and Vercel and serverful deploy targets like Render and AWS:
yarn cedar setup deploy --help
Don't go live without auth! Lock down your app with CedarJS's built-in, database-backed authentication system (dbAuth), or integrate with the most popular third-party auth providers:
yarn cedar setup auth --help
Next Steps
The best way to learn CedarJS is by going through the comprehensive tutorial and joining the community on our Discord server).